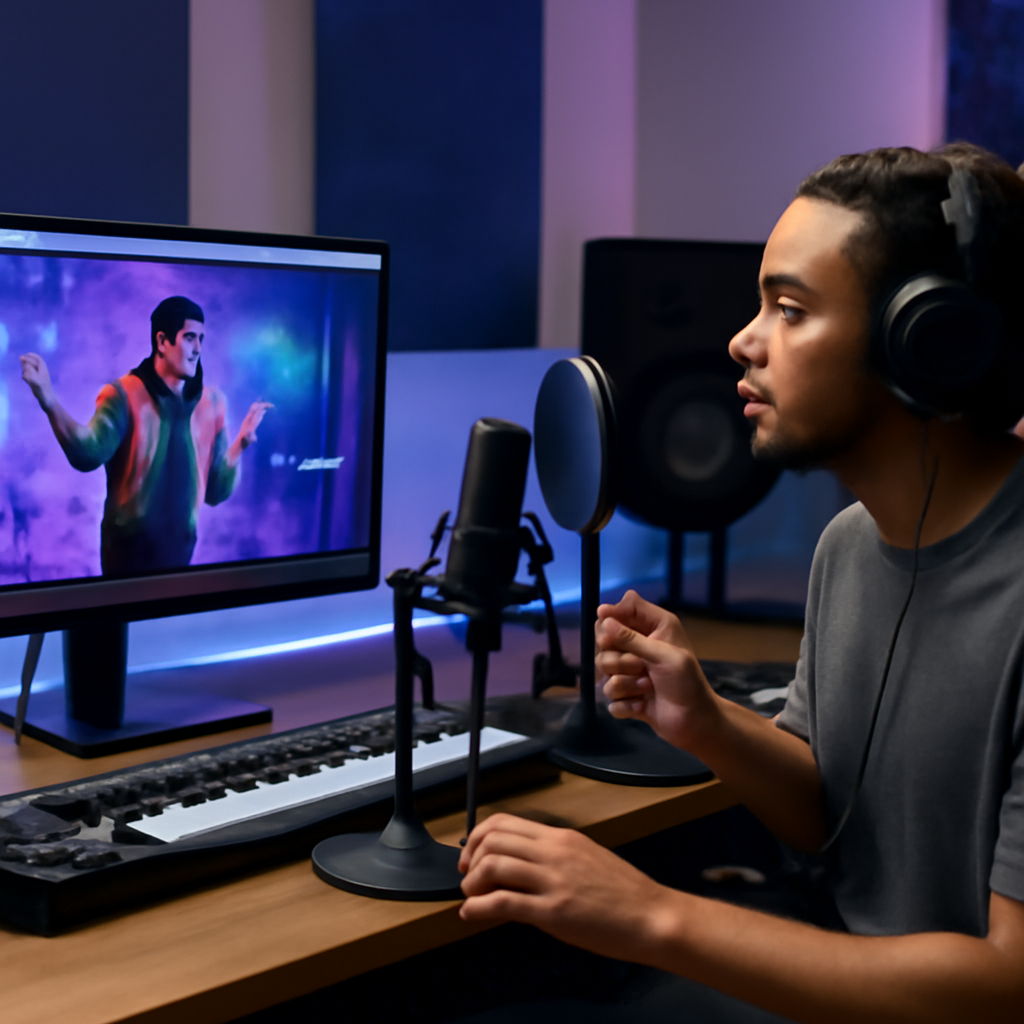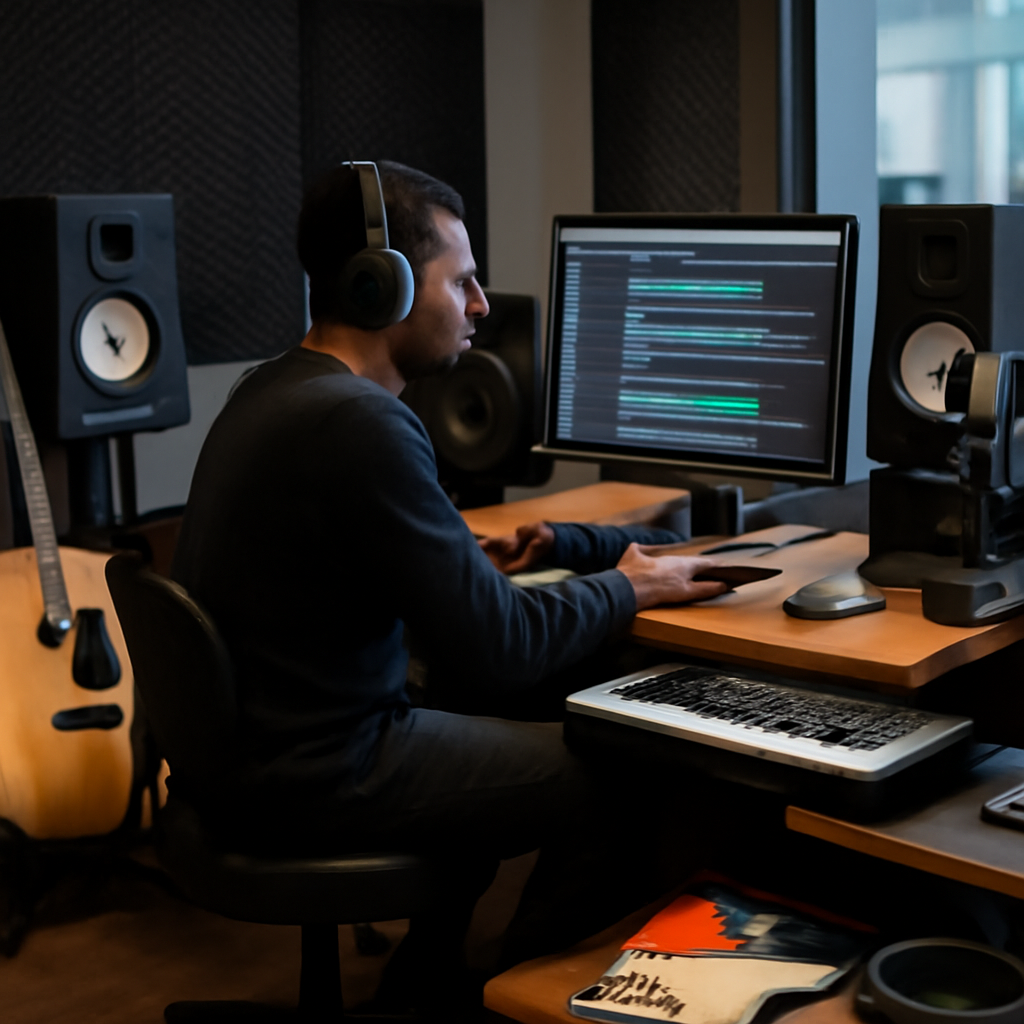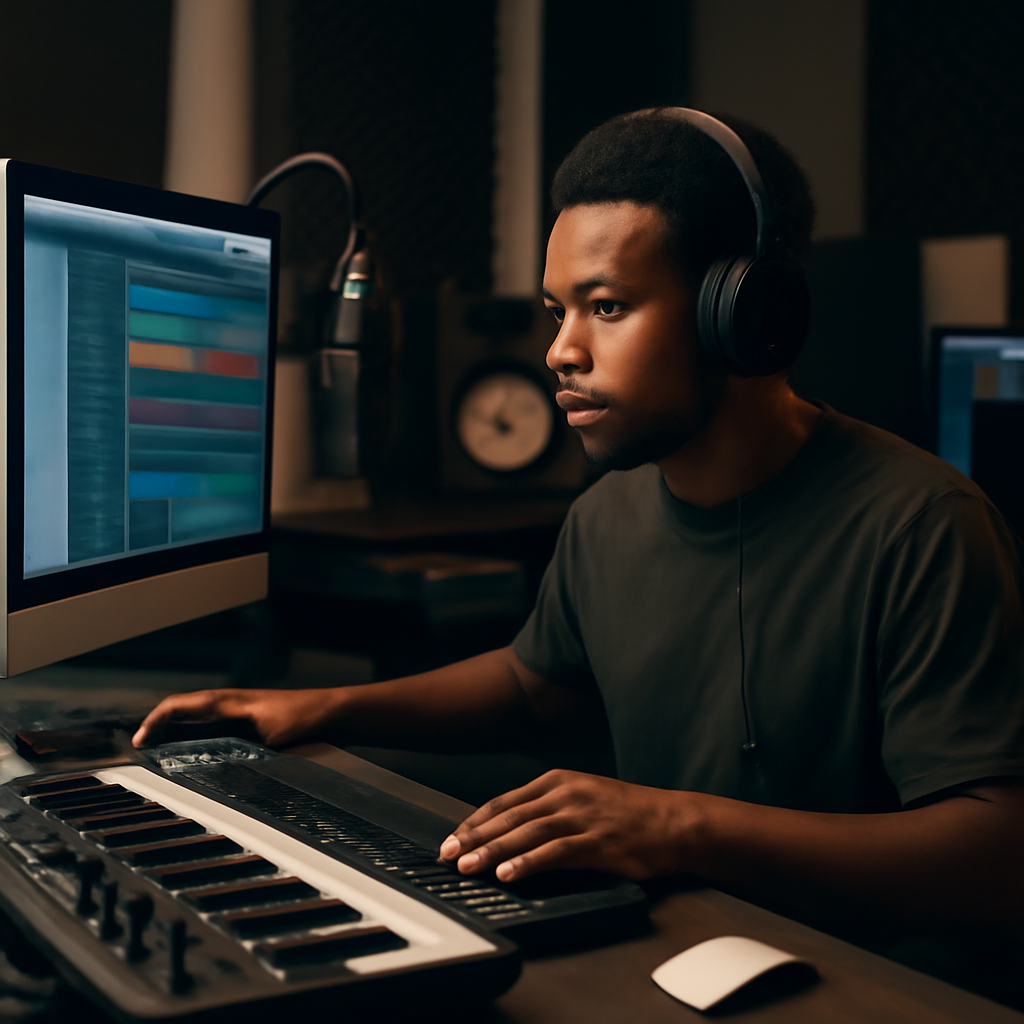
How to Build a Recording Studio at Home: A Guide for Independent Artists
Creating a home recording studio can empower independent artists to produce high-quality music without the constraints of traditional studios. This guide provides practical steps and insights to help you get started.
Introduction
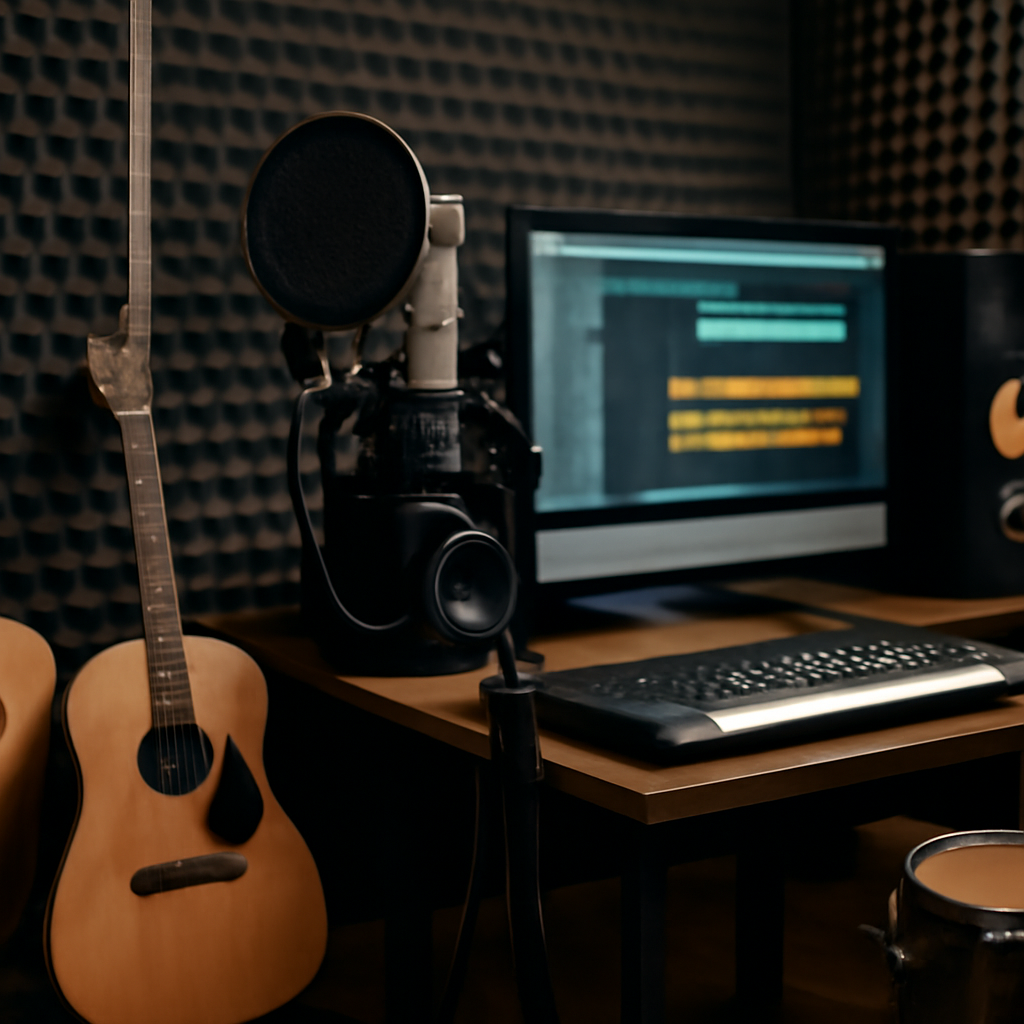
In today's music landscape, the ability to produce your own music has never been more accessible. With advancements in technology and a wealth of resources available online, independent artists can create professional-sounding recordings right from the comfort of their own homes. Building a home recording studio not only saves money but also gives artists complete creative control over their work. This guide will walk you through the essential steps to set up your own recording space, ensuring you have everything you need to bring your musical vision to life.
Why Independent Artists Should Care
For independent artists, having a home recording studio can be a game-changer. It allows you to:
- Save Money: Traditional studio time can be expensive. By recording at home, you can significantly reduce your production costs.
- Enhance Creativity: Working in a familiar environment can inspire creativity. You can experiment with sounds and ideas without the pressure of a ticking clock.
- Control Your Schedule: You can record whenever inspiration strikes, whether it's late at night or early in the morning.
- Learn Valuable Skills: Setting up and operating your own studio will teach you about recording techniques, mixing, and mastering, which are invaluable skills in today’s music industry.
What Artists Should Do Next
Building a recording studio at home involves several key steps. Here’s a practical guide to get you started:
1. Define Your Space
Choose a room or area in your home that can be dedicated to your studio. Consider factors like:
- Size: A larger space can accommodate more equipment and provide better acoustics.
- Noise: Select a location that is relatively quiet and free from external disturbances.
- Accessibility: Ensure you have easy access to power outlets and good lighting.
2. Acoustic Treatment
To achieve high-quality recordings, you’ll need to address the acoustics of your space. Here are some tips:
- Soundproofing: Use soundproofing materials like foam panels, carpets, and heavy curtains to minimize outside noise. This is crucial for maintaining sound integrity.
- Acoustic Panels: Install acoustic panels to reduce echo and improve sound clarity within the room. These panels can be purchased or DIY-ed using materials like rock wool or fiberglass.
- Bass Traps: Consider adding bass traps in corners to manage low frequencies, which can often cause muddiness in recordings.
3. Essential Equipment
Your studio setup will depend on your budget and needs, but here are the essential items to consider:
- Computer: A reliable computer with sufficient processing power is crucial for running recording software. Look for a machine with at least 16GB of RAM and a multi-core processor.
- Digital Audio Workstation (DAW): Choose a DAW that suits your workflow. Popular options include Ableton Live, Logic Pro, and Pro Tools. Each has its strengths, so consider trying a few before committing.
- Audio Interface: An audio interface converts analog signals into digital data, allowing you to connect microphones and instruments to your computer. Look for one with good preamps and low latency.
- Microphones: Invest in a good quality condenser microphone for vocals and dynamic microphones for instruments. Consider brands like Shure and Audio-Technica for reliable options.
- Headphones: A pair of closed-back headphones will help you monitor your recordings without bleed. Brands like Sennheiser and Beyerdynamic offer excellent choices.
- Studio Monitors: Quality studio monitors are essential for accurate sound reproduction during mixing. Look for monitors with a flat frequency response to ensure you hear your music as it truly is.
4. Recording Techniques
Once your studio is set up, it’s time to start recording. Here are some techniques to keep in mind:
- Microphone Placement: Experiment with microphone placement to capture the best sound. Small adjustments can make a significant difference. For example, placing a microphone closer to the sound source can enhance clarity.
- Layering Tracks: Don’t hesitate to layer multiple takes of vocals or instruments to create a fuller sound. This technique is commonly used in pop and rock music to achieve a rich texture.
- Use Effects Wisely: Incorporate effects like reverb and delay during mixing to enhance your recordings, but use them sparingly to avoid clutter. A little reverb can add depth, but too much can muddy the mix.
5. Mixing and Mastering
After recording, the next step is mixing and mastering your tracks. Here are some basic principles:
- Balance Levels: Ensure that all elements of your mix are balanced in terms of volume. Use faders to adjust levels and ensure no single element overwhelms the others.
- EQ and Compression: Use equalization and compression to enhance the clarity and punch of your tracks. EQ can help carve out space for each instrument, while compression can tighten up dynamics.
- Final Mastering: Consider hiring a professional for mastering if you want your music to compete with commercial releases. Mastering is the final polish that ensures your tracks sound great on all playback systems.
6. Continuous Learning
The music industry is always evolving, and so should your skills. Take advantage of online courses, tutorials, and forums to continue improving your recording and production techniques. Websites like Coursera, Skillshare, and YouTube offer a plethora of resources to help you stay updated.
7. Risks and Challenges
While building a home recording studio can be rewarding, there are also risks and challenges to consider:
- Initial Investment: The cost of equipment can add up quickly. It's essential to budget wisely and prioritize purchases based on your immediate needs.
- Learning Curve: There is a steep learning curve associated with recording and production software. Be prepared to invest time in learning the ins and outs of your DAW and other tools.
- Distractions: Working from home can lead to distractions that may hinder your productivity. Establish a dedicated workspace and set boundaries to minimize interruptions.
8. Building a Community
As an independent artist, connecting with other musicians can provide valuable support and inspiration. Consider joining local music groups or online communities where you can share experiences, collaborate, and learn from one another. Platforms like Krazyfi offer a space for artists to connect, share their music, and gain insights into the music business.
Conclusion
Building a home recording studio is an investment in your music career that can pay off in numerous ways. By following these steps, independent artists can create a space that fosters creativity and enables them to produce high-quality music. Remember, while the journey may be challenging, the rewards of having complete control over your music are well worth the effort.
For more resources and tools to help you on your music journey, check out Krazyfi, where you can find valuable insights tailored for independent artists. Krazyfi not only provides a platform for artists to share their music but also offers tools and resources to help you navigate the music business effectively.